
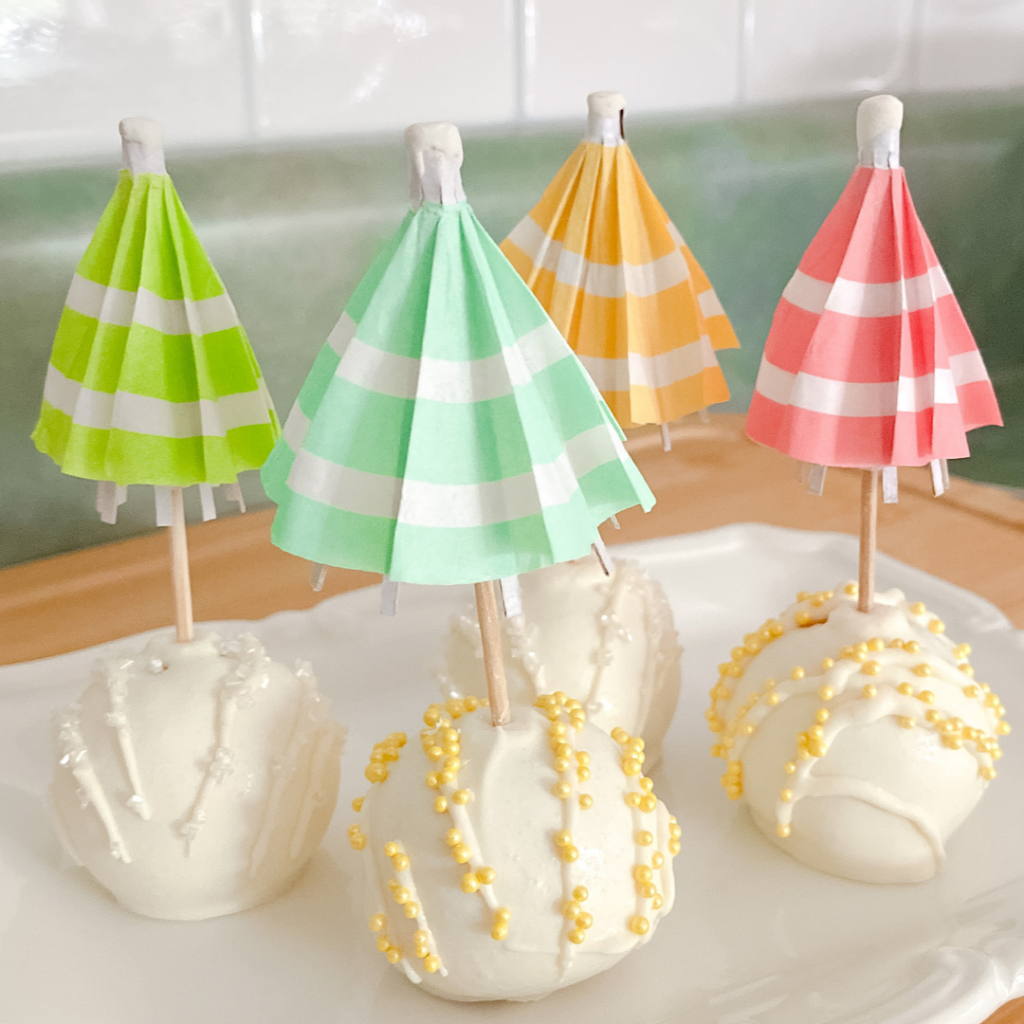
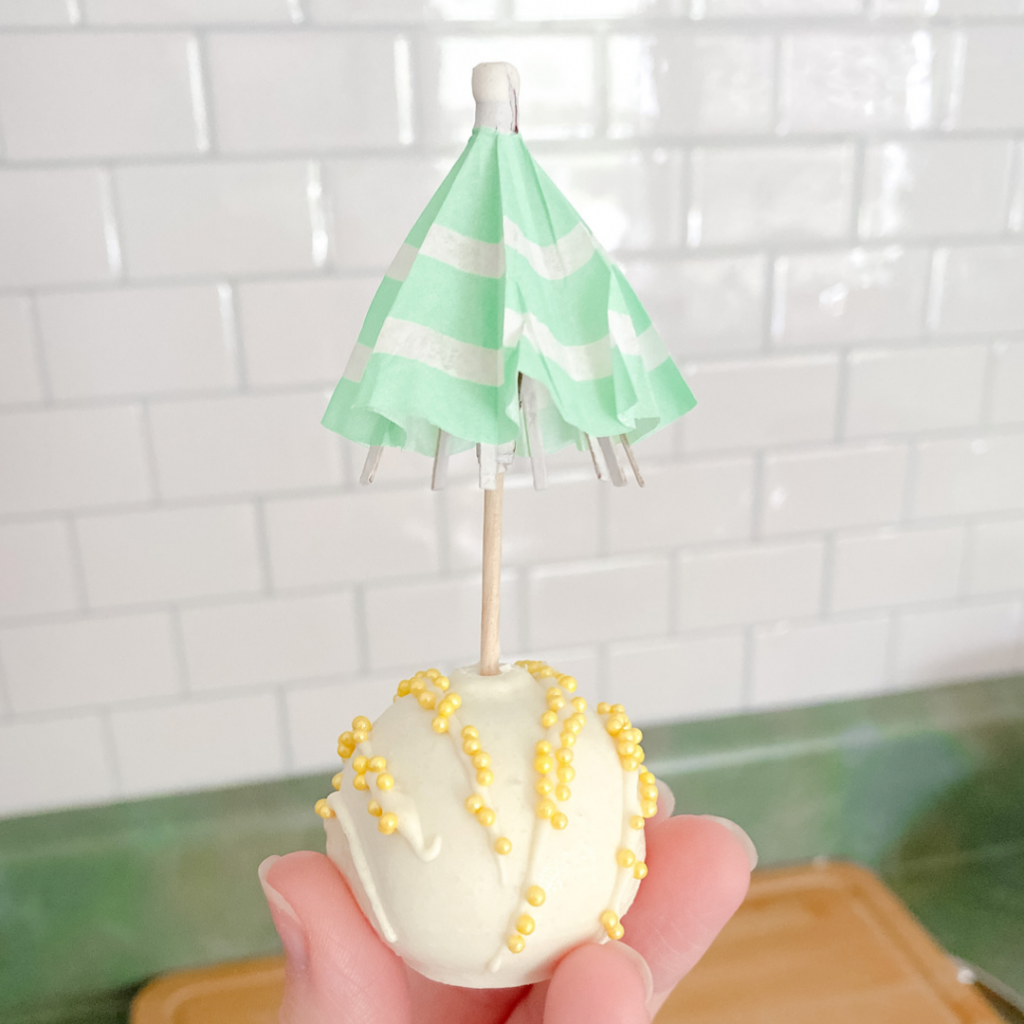
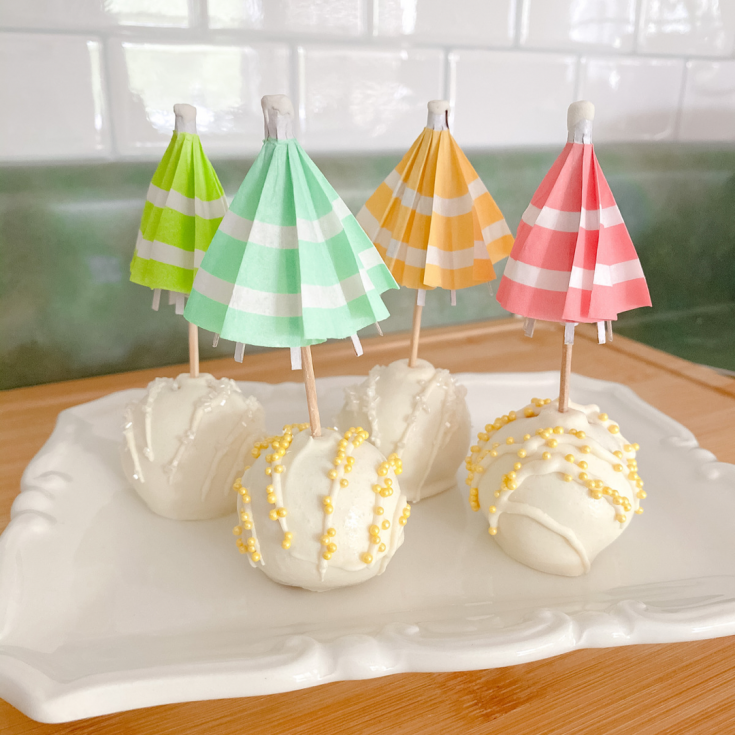
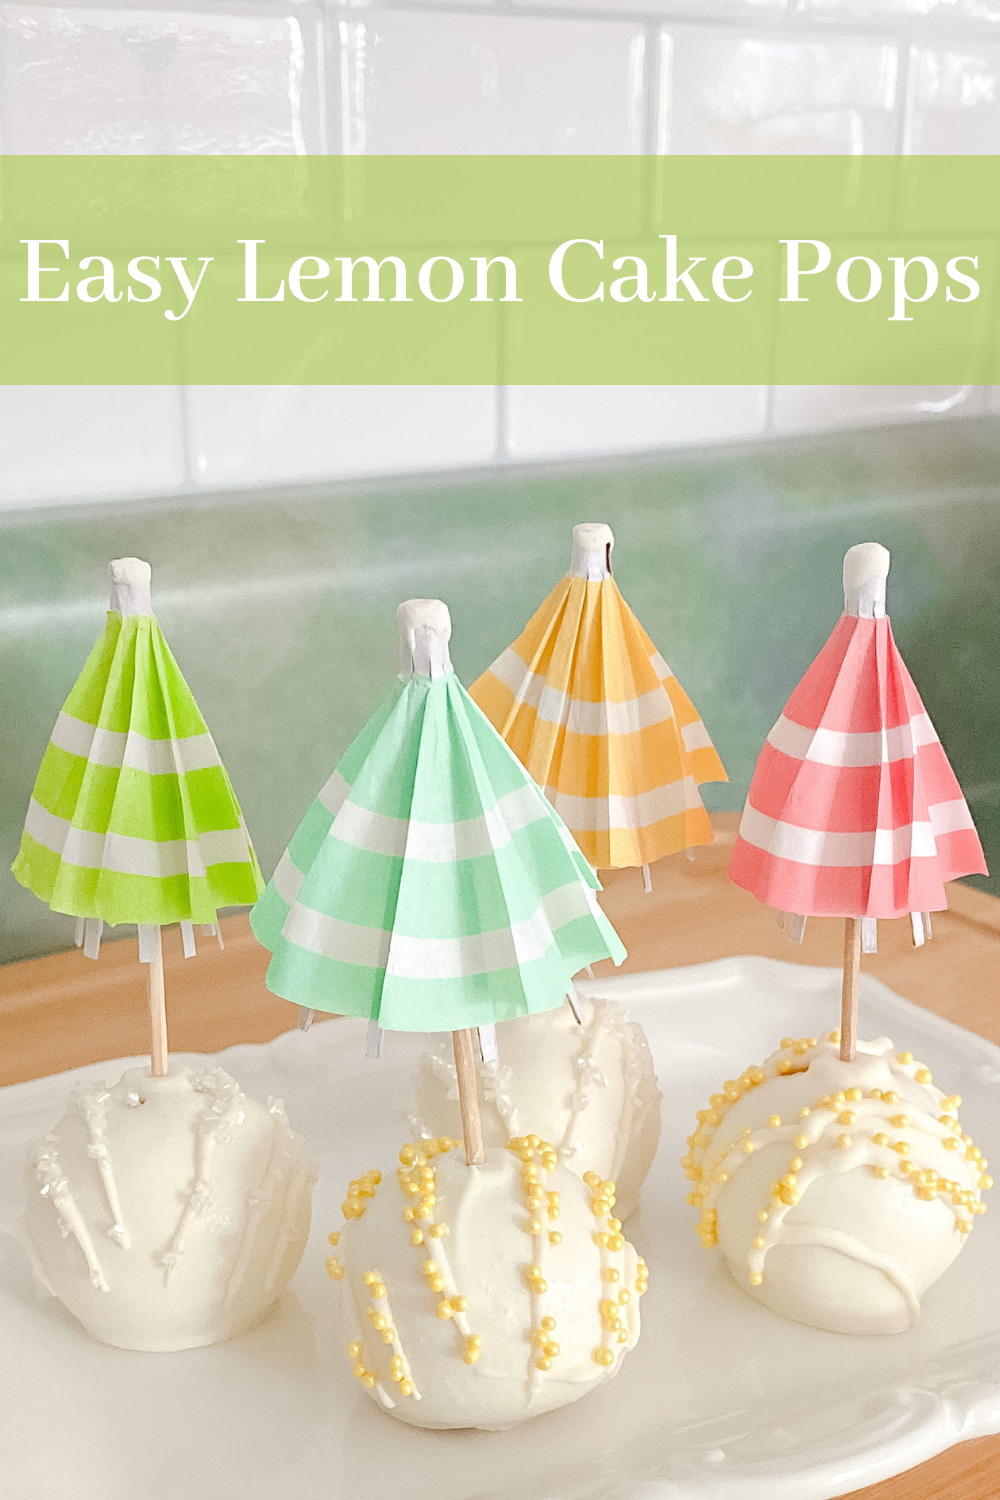
Looking for a sweet summer treat that is easy enough for even the littlest of hands? These lemon cake pops are a simple and delicious recipe for little helpers of all ages to make and devour. Top with colorful umbrella picks for a fun summer time snack that is sure to make your taste buds pop!
How To Make Lemon Cake Pops
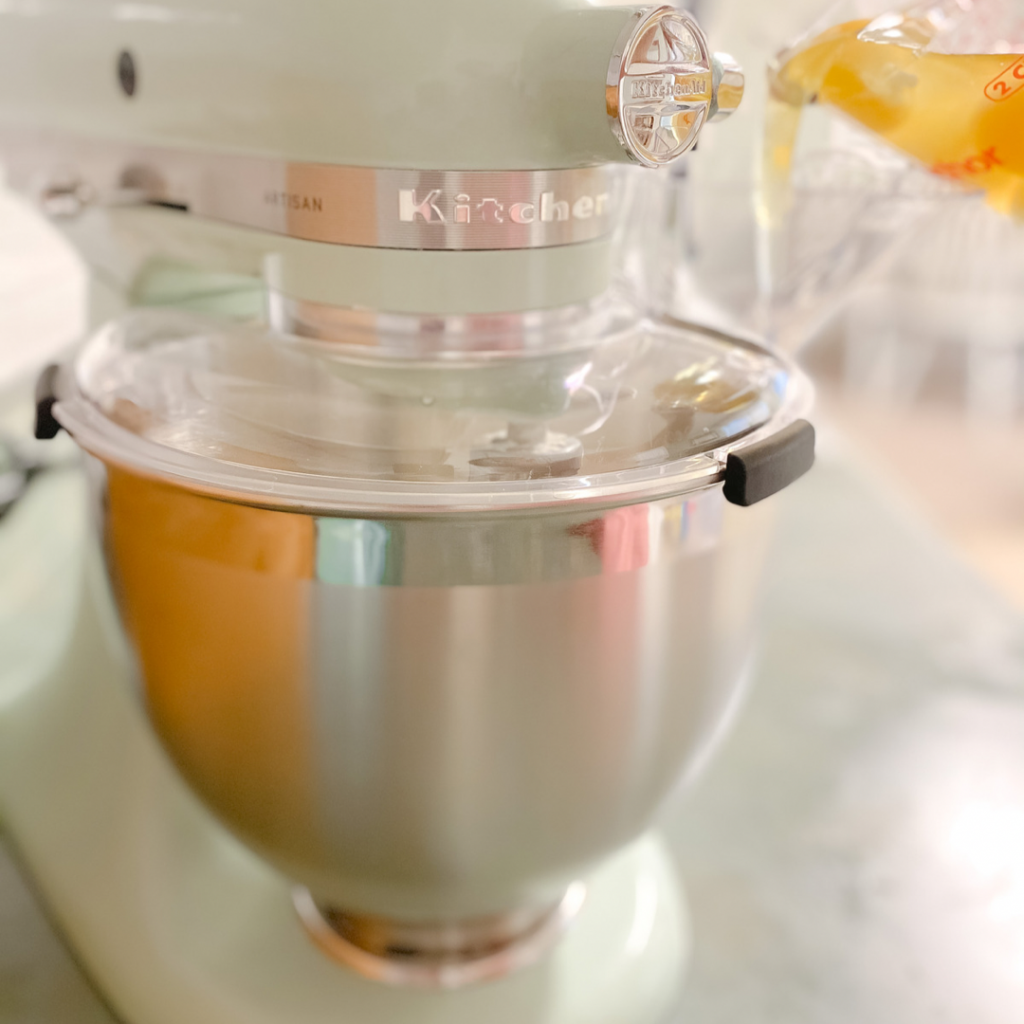
Step One – Bake
The first step is to bake the lemon cake according to the box instructions. For this recipe, I used two eight inch round pans, and baked the cakes together for about 35 minutes. (I did double the recipe, using 2 boxes of cake mix, so you may only need one eight inch pan) Usually, I would flour my cake pans or prep them with parchment paper. For this particular recipe, you will be removing the browned edges, tops, and bottoms anyway, so I did no pan prepping to keep it super simple.
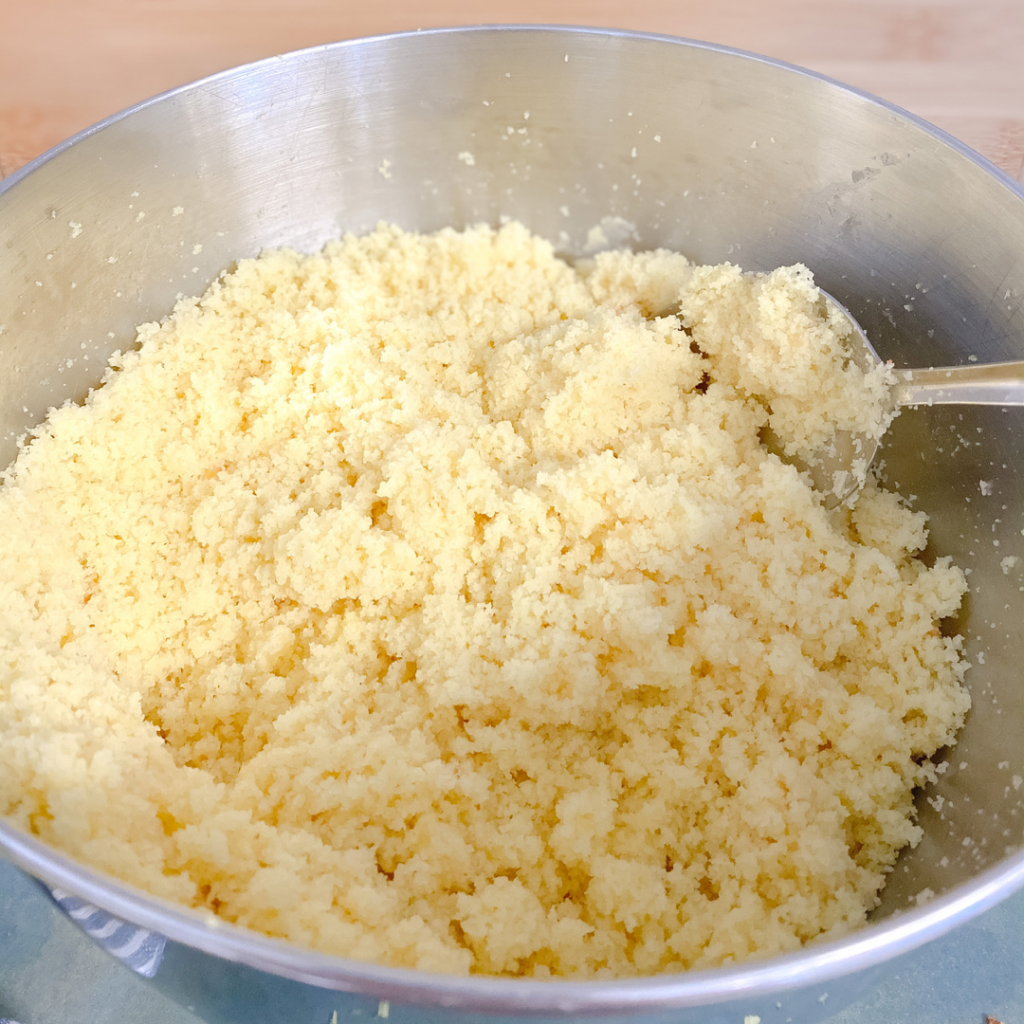
Step Two – Cut and Crumble
After the cakes have cooled completely, remove the top, bottom, and sides from the baked cakes. The browned outer surface is removed to prevent your cake pops from falling apart when being formed. Cake crust will not blend well when being mixed into a dough. A fluffy and smooth cake center makes for the best cake pops!

After discarding all crusted edges, crumble up the middle portion of the cake using your hands, a spoon, or a hand mixer until it resembles moist sand. (Think Moon Sand consistency)
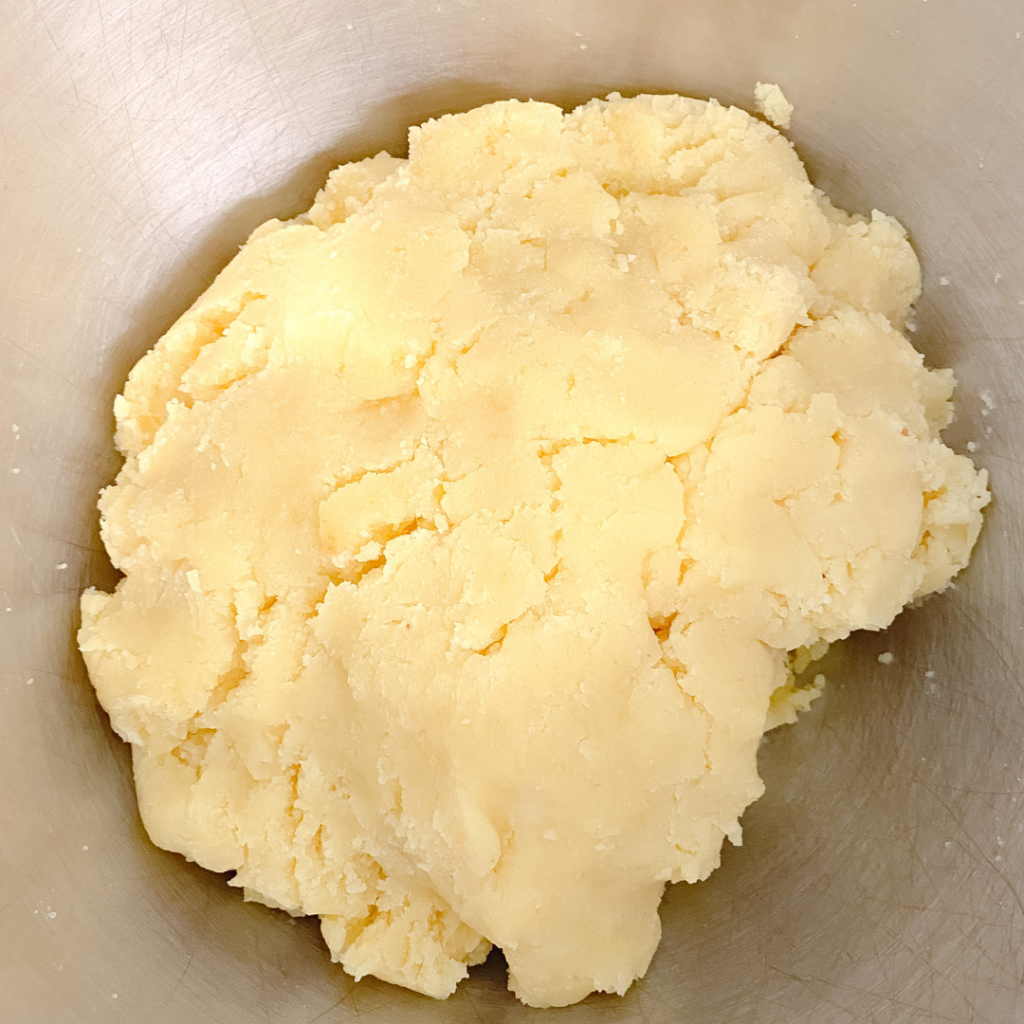
Step Three – Mold and Roll
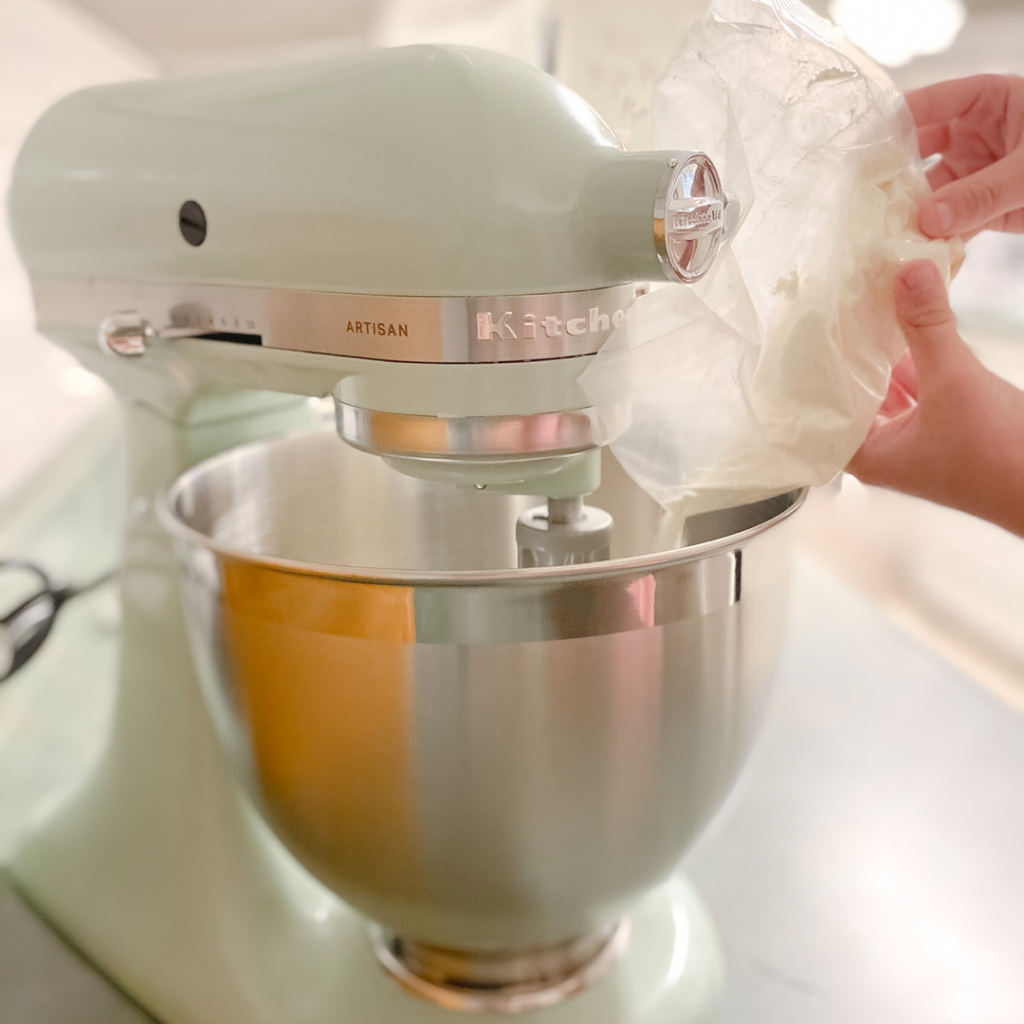
Next, combine about a fourth of a cup of frosting to the crumbled cake. Your hands or a hand mixer will work best to fully incorporate the two, though you want to be sure not to over mix. You should be left with a dough similar to the photo below. Add more icing if needed until you reach a play dough like consistency.
Now it’s time for the fun part! Roll the dough into 1 1/4 inch round balls until they are nice and smooth. My kid’s love to roll up the dough, and to squish it sometimes too. For the smallest of hands, you can pre-roll a few balls, and then let them roll them around in their hands. This makes them feel like big helpers!
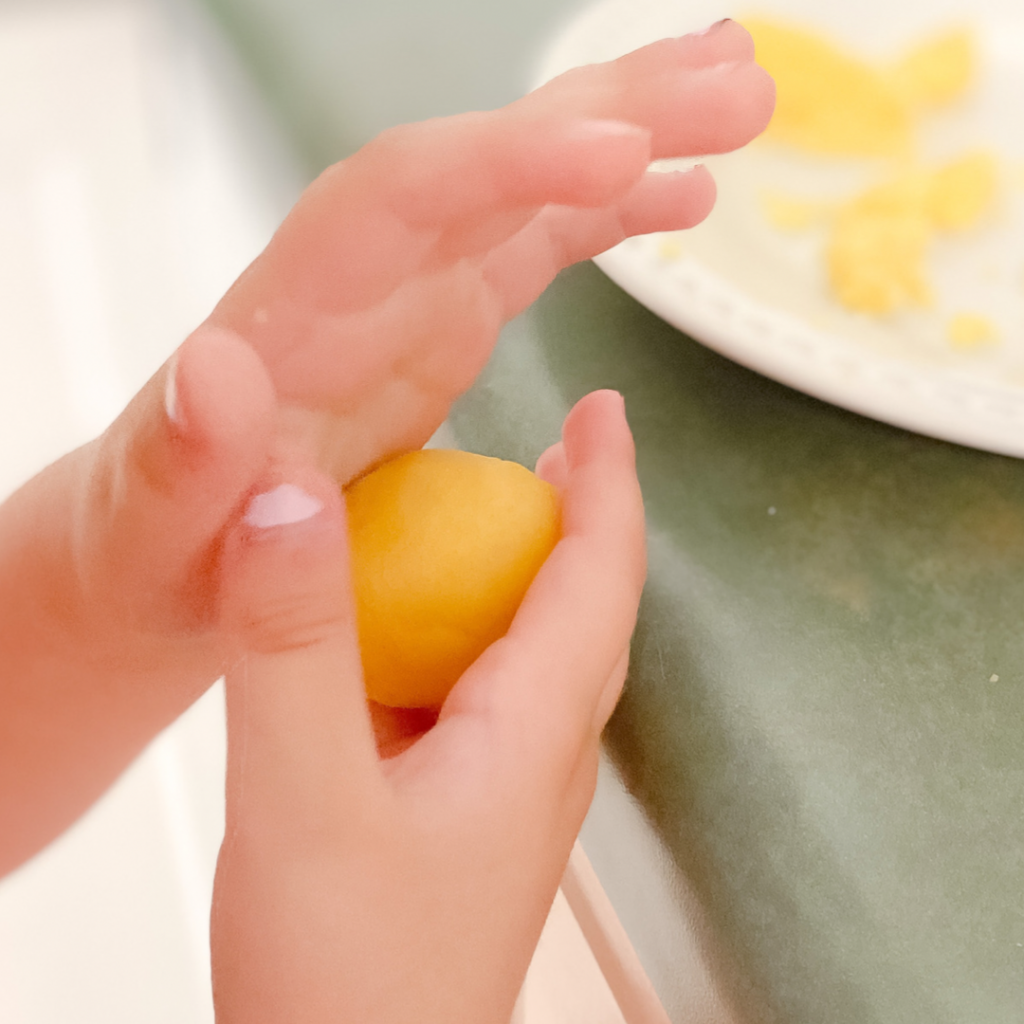
Try to keep the cake balls similar in shape and size as you go. If a ball is too large, it will be too heavy when dipped into the melted chocolate, and it will flop right off the stick. Though it is just fine if they are not all perfectly symmetrical.

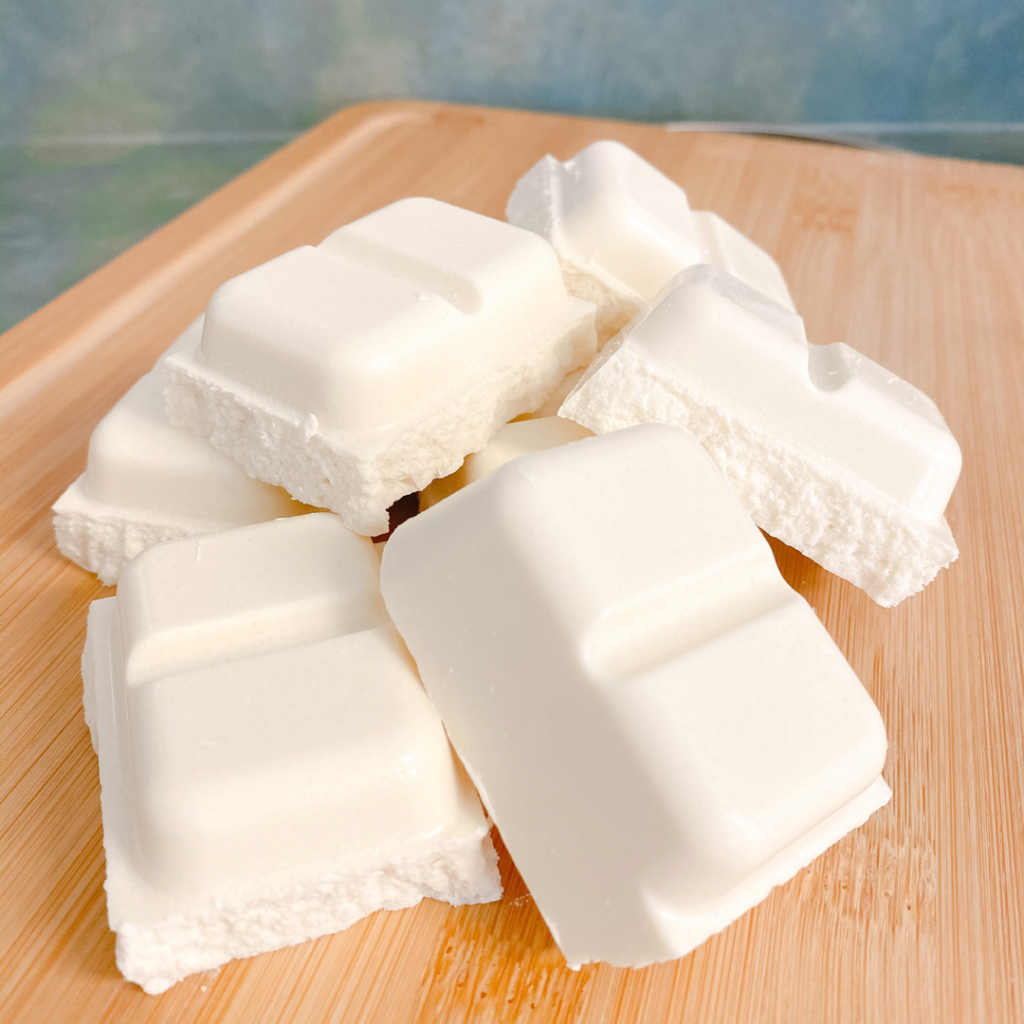
Step Four – Melt and Dip
Step four is to melt the chocolate. I usually use chocolate melting disks when making cake pops, but the store that I went to for my ingredients only had the trays of baking chocolate, which worked just as good as the disks in my opinion. When melting your chocolate be sure to heat in 30 second intervals in the microwave, stirring in between heating, to prevent burning.
After the chocolate is melted, dip the tip of a cake pop stick (or umbrella pick) into the tray of chocolate, and immediately poke it into a rounded cake ball. Repeat this step until each ball has a cake pop stick, then place the lemon cake pops into the refrigerator to allow the chocolate at the end of the sticks to harden.
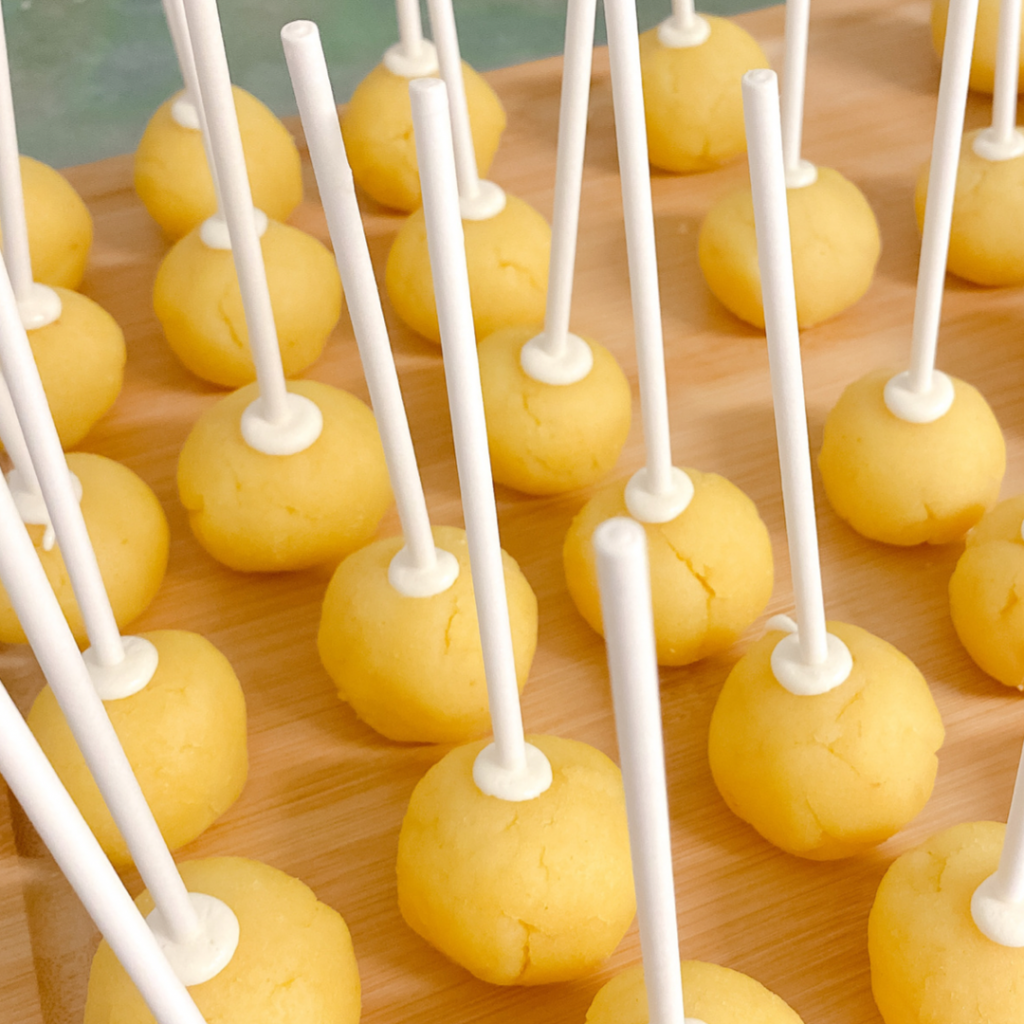
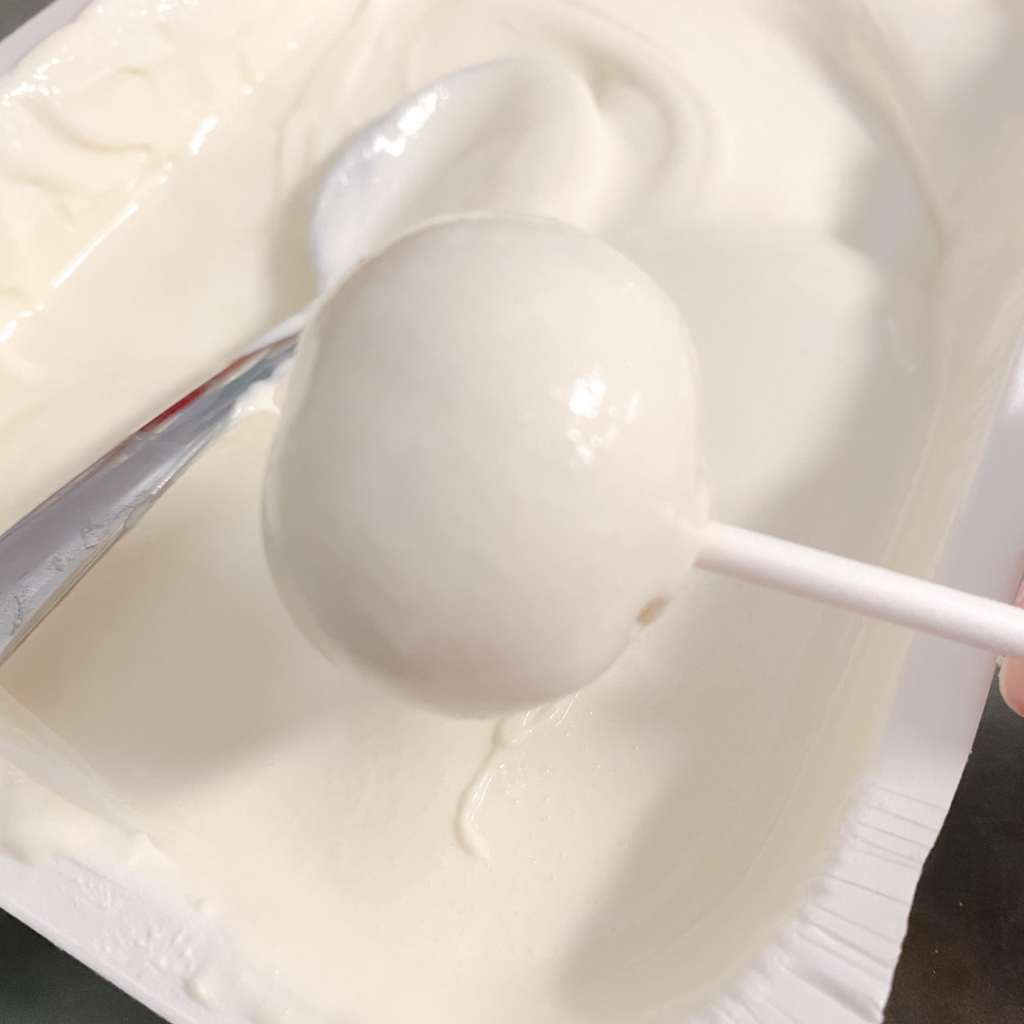
After about 5 minutes, remove the cake pops from the fridge, and reheat your melting chocolate for a few seconds if needed. Begin twirling the lemon cake pops into the melted chocolate while using a spoon to help coat the edges.
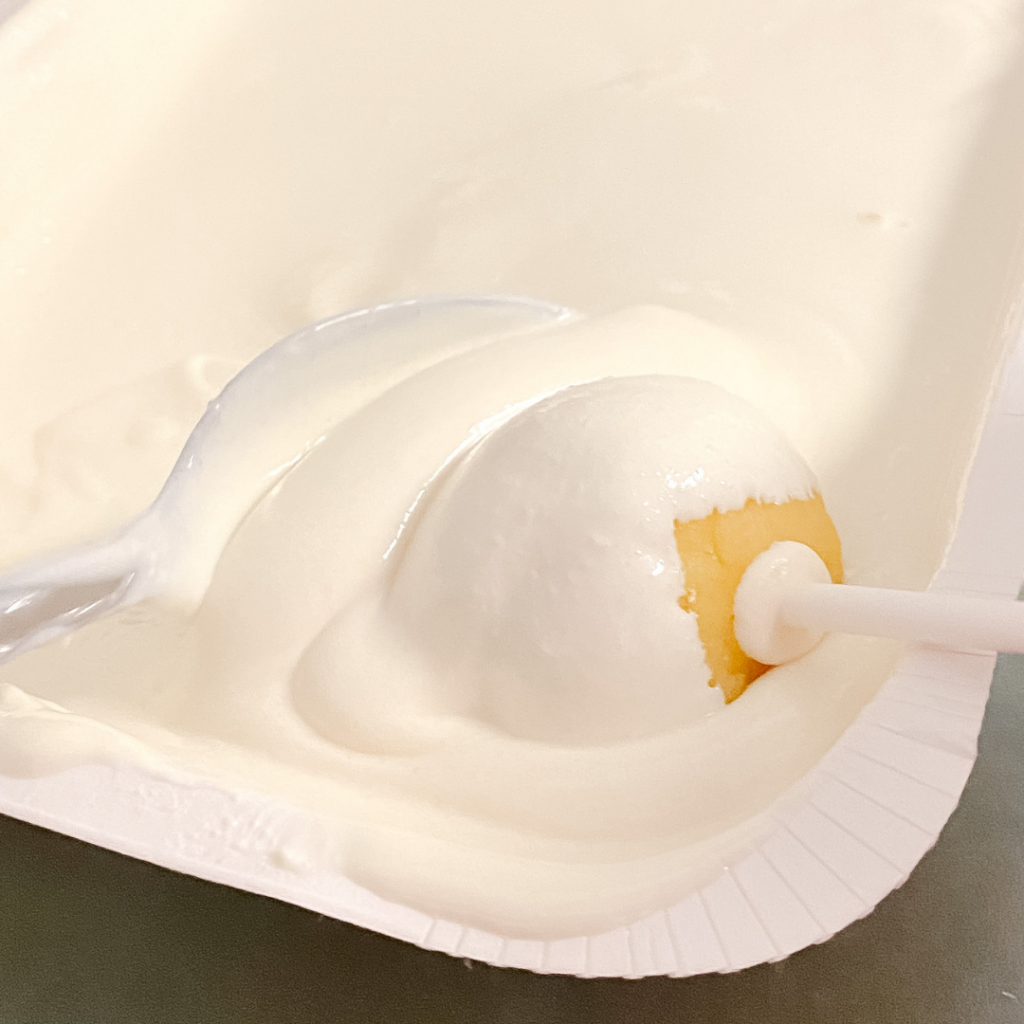
Allow any excess chocolate to drip off of the cake pop for just a few seconds. Then place the cake pops into a cake pop stand or upside down onto a piece of parchment paper. A cool hack that I always use when making cake pops is to turn a colander upside down on a flat surface, and stick the cake pops into the straining holes to dry.
Step Five – Decorate
Time to decorate!
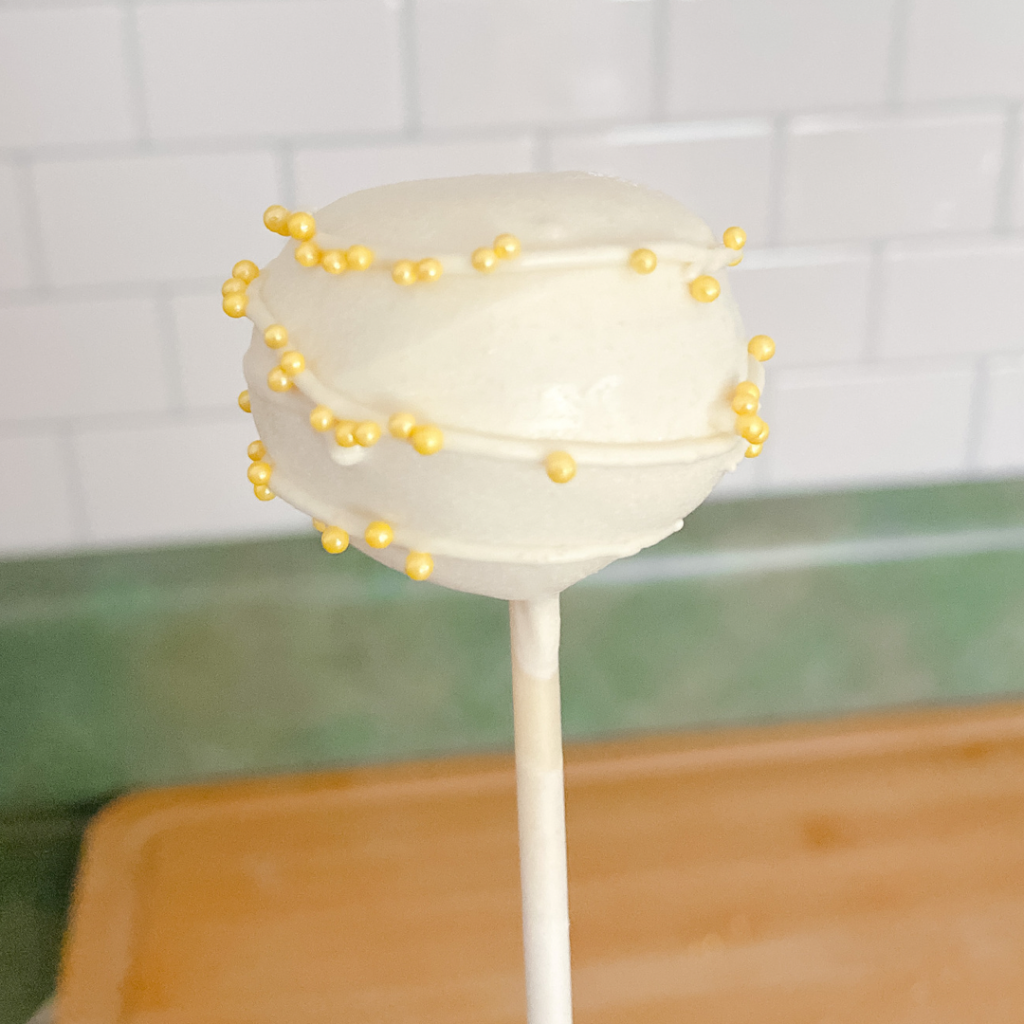
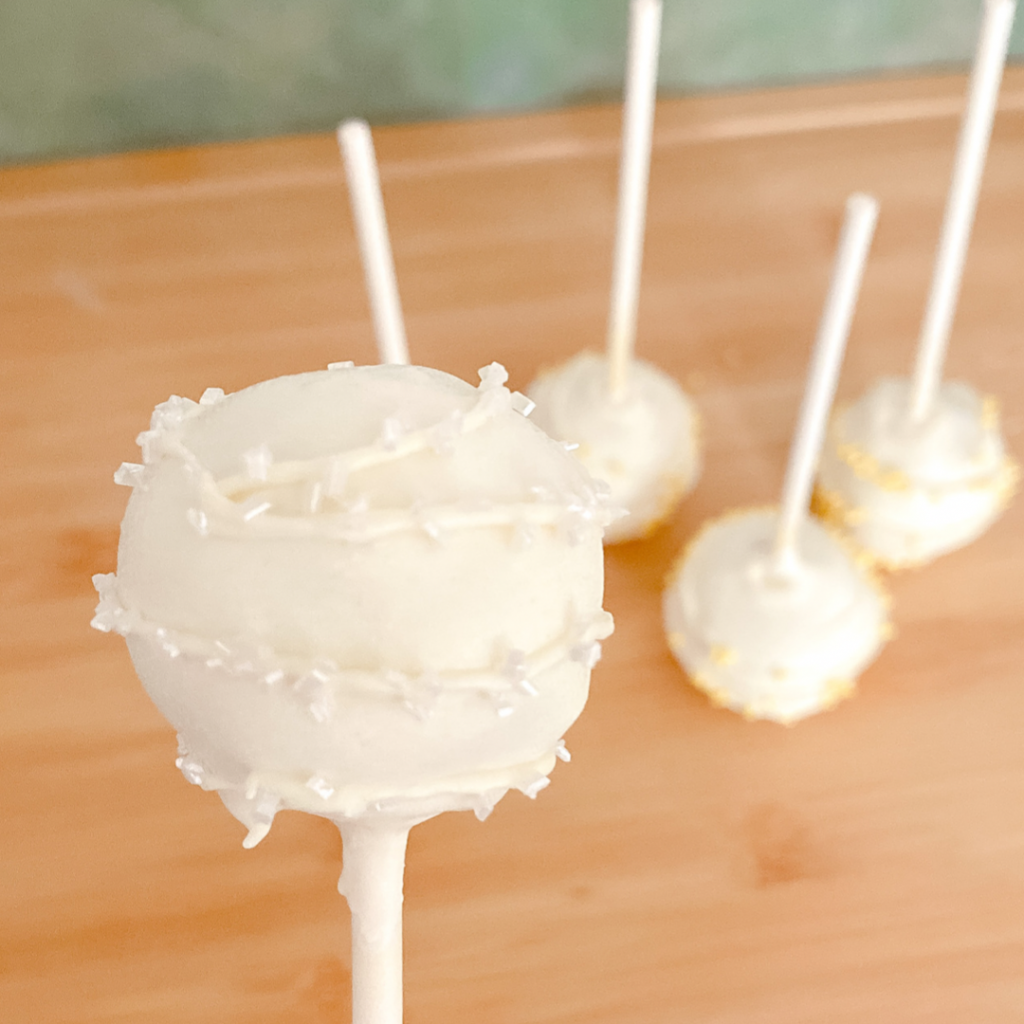
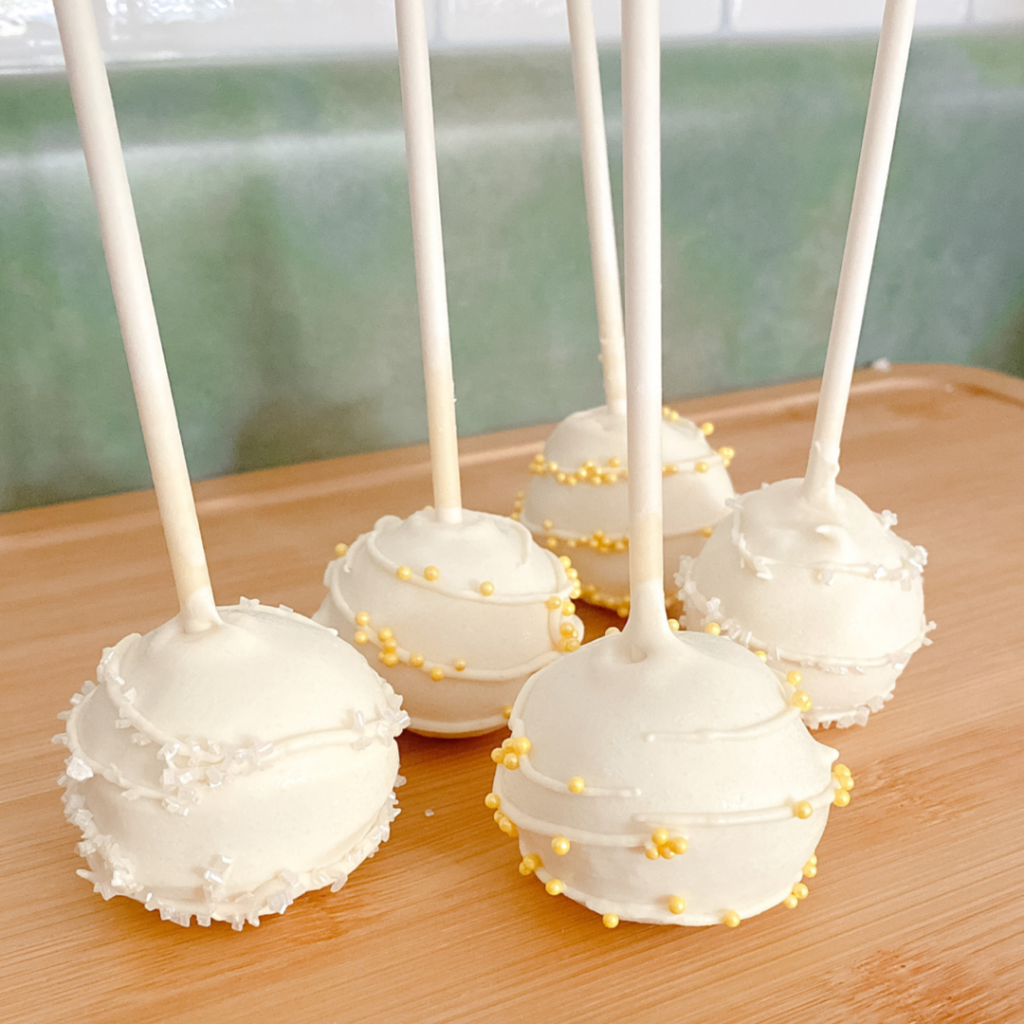
To decorate your cake pops, begin by filling a piping bag with remaining melted chocolate. Cut a small hole in the tip of the piping bag (you can also use a medium sized ziplock bag). While holding a lemon cake pop in one hand, begin drizzling the melted chocolate turning the cake pop as you go. Immediately add on desired amount of sprinkles to the chocolate drizzle. You can use any color sprinkles that you wish to decorate your cake pops. I used clear crystal sprinkles and yellow beaded sprinkles to compliment the cake pop’s lemony taste! Allow cake pops to dry again for about 10 minutes before wrapping or storing in a container.
That’s it! Now you can enjoy your hard work right away with family and friends, or freeze them for later when you need a mid day pick me up this summer!
I hope that you found this post to be both helpful and inspiring.
Happy Baking!
Courtney
Tips For Lemon Cake Pops
Melt chocolate in 30 minute intervals to prevent burning
Turn a colander upside down to use as a cake pop stand for drying
Use a spoon to help coat cake pops in melting chocolate
Place cake pops in fridge after inserting cake pop sticks to allow the chocolate surrounding the stick to set up quickly
Lemon Cake Pops-Questions Answered
Why are my cake pops falling apart?
Cake pops can crumble and fall apart for many reasons. A main reason that cake pops break apart when being dipped into chocolate is not removing the crust of the cake before mixing in the icing. Another reason that cake pops fall apart is not allowing the chocolate around the rim of the cake pop stick to set up and dry completely before dipping the entire pop into the melted chocolate.
Do you have to refrigerate cake pops before dipping?
No, you do not have to refrigerate cake pops before dipping them into chocolate coating, though you do want to make sure that the chocolate around the cake pop stick is fully hardened before dipping the entire cake pop. Placing the cake pops into the refrigerator for about 5 minutes will chill the chocolate around the stick enough for it to have a good grip on the cake ball, preventing it from falling off into the chocolate.
What can I use instead of sticks for cake pops?
You can use tooth picks, straws, or plastic spoons or forks instead of cake pop sticks.
What is the best melting chocolate for cake pops?
Chocolate melting discs are the best chocolates to use for cake pops, because they melt smoothly, with little clumping, leaving a nice thin layer of chocolate without weighing down the cake pop. If you can not find melting chocolate disks, baking chocolate bricks will work just fine as well.
What cake is best for cake pops?
Almost any cake works well for cake pops as long as the crusted edges have been removed to prevent crumbling of the cake balls. I have used homemade, box mix, and leftover birthday party cake. As long as the cake is provided enough icing to reach the right consistency when mixed, you should have no problem using many flavors and varieties of cakes.
Can I freeze cake pops?
Yes. Freeze cake pops for up to 6 months in an air right container. Thaw cake pops at room temperature for about 6 hours before opening the container to prevent sweating and cracking of the cake pops.
How long do cake pops last once made?
Cake pops can last up to 6 months in the freezer, 3 weeks in the fridge, and 2 weeks at room temperature.
How many cake pops does a box cake mix make?
A boxed cake mix can make 15-20 cake pops depending on the size of the cake ball. I make 1 1/4 inch round cake balls and get about 30 cake balls from 2 cake mix boxes.
How do you store cake pops before dipping?
If you need to store cake pops ahead of time before dipping them into melted chocolate, place them in an air tight container and leave them at room temperature for up to 2 weeks until ready to use. You also could refrigerate the cake balls for up to 3 weeks or freeze for up to 6 months.

Easy Lemon Cake Pops
These lemon cake pops are so easy and fun to make with little ones! Their moist lemon cake center is covered with a thin vanilla coating that is sure to make your taste buds pop!
Ingredients
- 1 box lemon cake mix
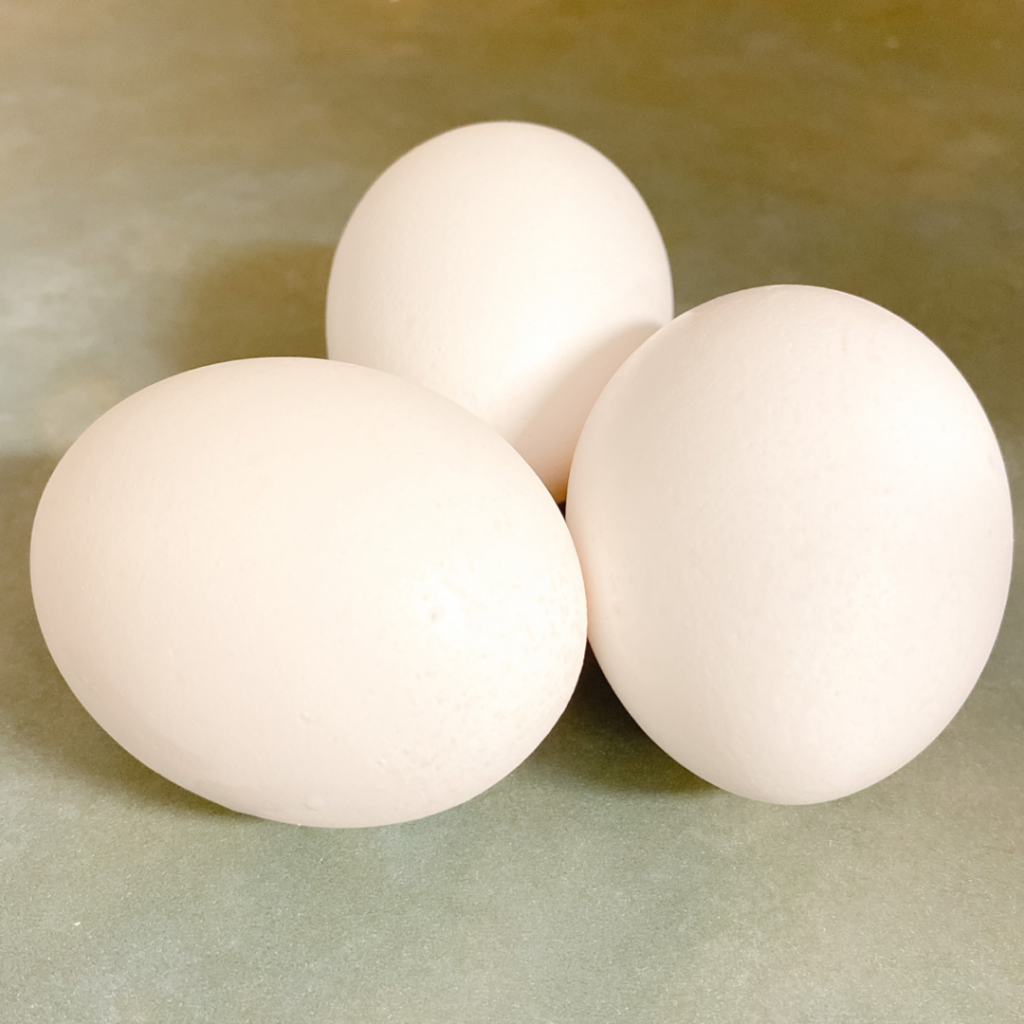
- 3 eggs
- 1/2 cup vegetable oil
- 1 cup water
- 1 tray vanilla melting chocolate
- 1/4 - 1/2 cup cream cheese frosting
- Cake pop sticks
- Umbrella picks (optional)
- Sprinkles for decorating
Instructions
- Bake cake mix according to box instructions
- Allow to cool, then remove browned edges and sides
- Discard browned pieces of cake
- In a large bowl, crumble cake into a moist sand consistency
- Add 1/4 -1/2 cup of icing to cake and combine
- Form cake into 1 1/4 inch balls
- Melt vanilla coating chocolate
- Dip cake pop sticks (or umbrella picks) in melted chocolate
- Immediately stick into each cake ball
- Place cake balls with sticks into the refrigerator for 5-10 minutes until chocolate sets
- (Reheat chocolate if needed) Dip cake pops into melted chocolate turning until fully coated
- Place cake pops into a cake pop holder or upside down on parchment paper
- Allow chocolate to set for about 10 minutes
- Drizzle vanilla chocolate over cake pops using a piping bag or ziplock bag
- Coat melted chocolate with desired color of sprinkles
- Allow drizzled chocolate to set for 5-10 minutes
- Enjoy!
Save Easy Lemon Cake Pops To Your Pinterest!
Leave a Reply